How I Take and Edit My Travel Photos
For me, travel photos are an important element of my travel experiences. Not only do they freeze time and allow you reminisce, they are great to look back on. I see how important it is for most of you as well, as one of the questions I get asked frequently is, how I take and edit my photos.
While I am still learning the ropes and trying to improve my photo taking and editing skills, I also want to share what has helped me take better photos so far and bring my travel destinations to life. One thing is for sure, it gets better with practice.
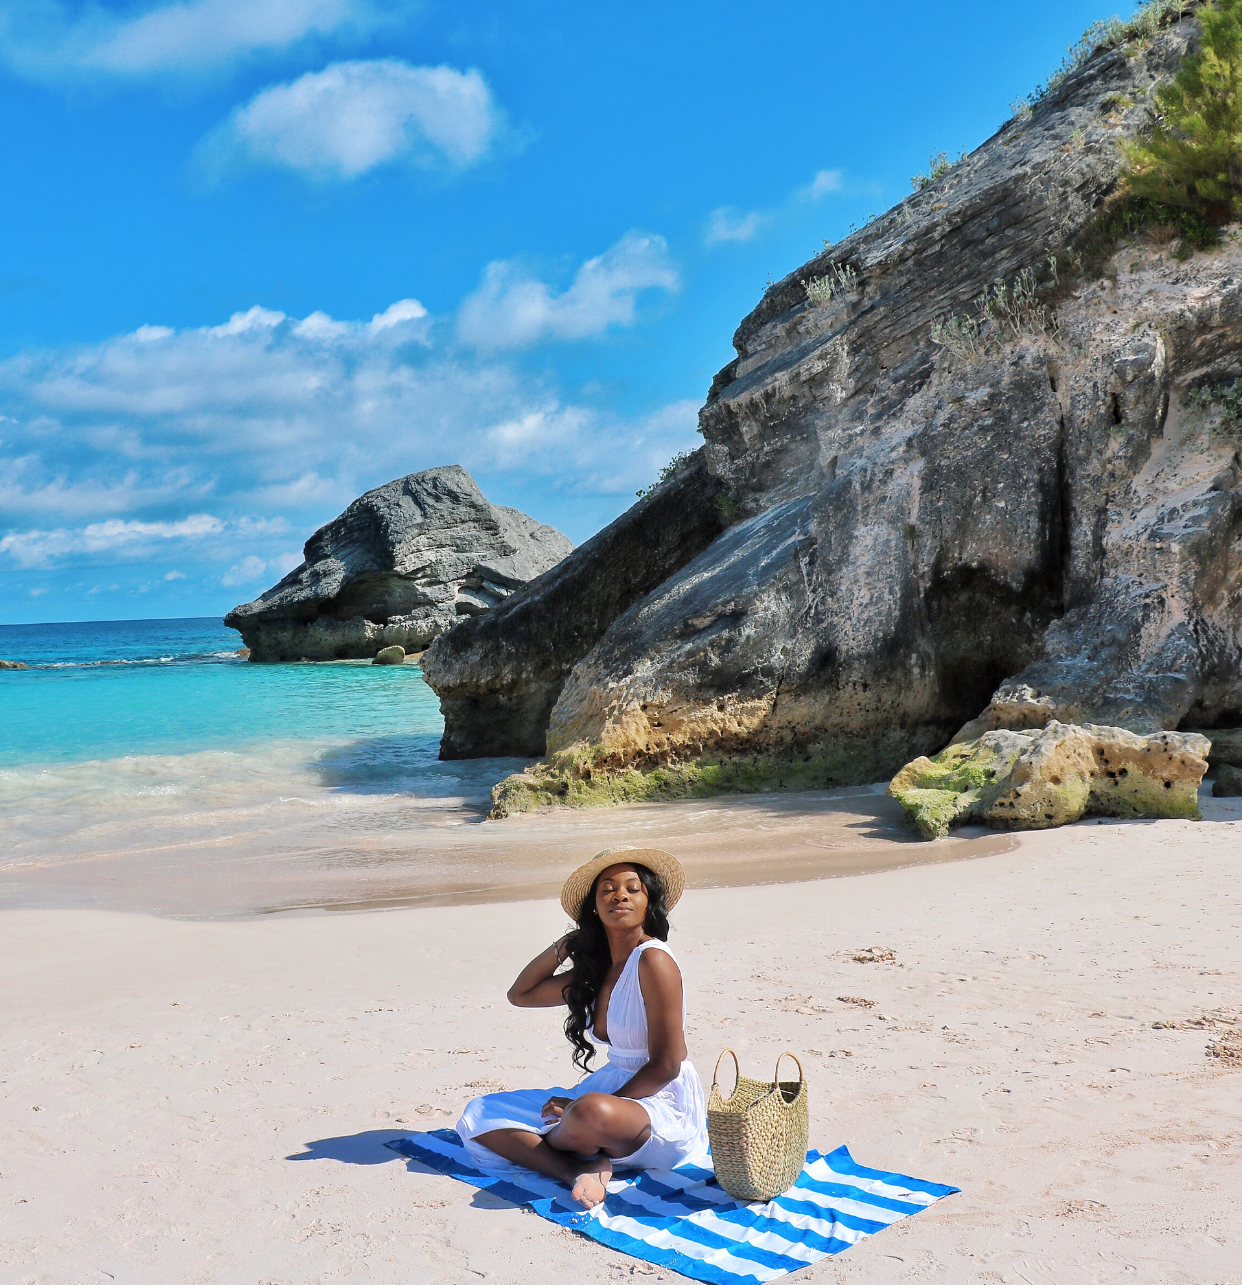
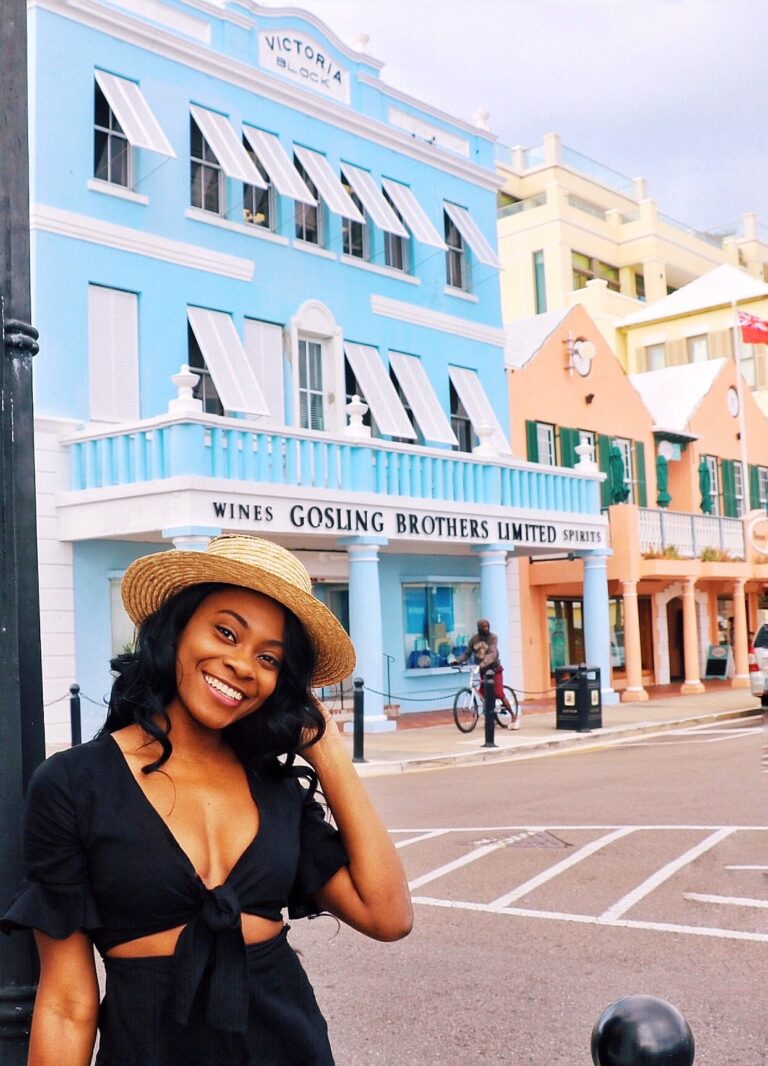
Photo location: Horseshoe Bay Beach, Bermuda
I think that travel photography is 40% the actual photo, and 60% the edits. Don’t ask me for proof. – Ufuoma
If you want to take and edit better travel photos, here are a couple of pointers that I think can help you.
On taking better photos…
My biggest tip for taking better photos is looking out for things that genuinely interests you, not what you believe others want to see. Here’s the thing, when something peaks your interest, it often translates into a great photo as you’re able to put in the work required to ensure it is close to perfect.
1.) It is not necessarily about the camera you use
Not to undermine the importance of a great camera, but I think it is more important to have an eye for photos and maybe unique things. Cameras are great but you can have the most functional camera but still not be able to get great shots because you haven’t trained your eyes to see the beauty in things. Don’t downplay the use of your smartphone or entry level cameras.
For my travel photos, I use the Canon T6s, Sony A6000, Sony A5000, and my iPhone 6s camera.
2.) Keep it simple
Less is always more. I think that a simple, less cluttered photo can do better than a busy photo. As humans, we like to zoom our minds in and focus on one element at a time. It helps when your photo has a primary subject that you focus on, with the other things in the background being compliments. If anything, the simpler a photo, the easier it is to manipulate during the editing process.
3.) Know your angles
This applies when you will be in the frame of the photo. It goes without saying that knowing your best angles will lead to a better photo overall. You will probably not know your best angles overnight so see what works for you, what you are comfortable with, and what poses you like, and go up from there.
4.) Shoot raw in great lighting
As you already know, lighting is everything, especially natural light. Shooting raw in favorable lighting conditions is an absolute blessing. It not only gives me editing freedom, it also leads to a clearer and sharper photo.
On editing better photos…
You can use advanced tools such as photoshop, lightroom, etc. I personally like to edit on-the-go. So apps like Snapseed, VSCO, and FaceTune do the trick for me. Figure out what works for you, try different apps or softwares until you find the one you like.
1.) Pick a theme/look and feel
Edits can play a huge role in altering the mood of any photo. For me, I like my photos vibrant and a little colorful, depending on where it was taken, and when. Not everyone likes their photos vibrant, some like their photos warm, black and white, muted, or minimal. The theme you are going for will determine what kinds of edits you use on your photo.
Vibrant photos = More ambiance, more brightness, more saturation, more sharpening
Muted photos = More contrast, less brightening, less saturation, some sharpening
2.) Keep it close to original
I believe in keeping my edits close to original as possible. I think it is important to not over-do the edits so much that it looks like a totally different place or a different person. Edits are like make-up, they are there to enhance what’s already there, if that makes sense. Say no to over-saturated, over-blurred, or over-structured photos.
3.) Shoot in portrait mode (especially for Social Media)
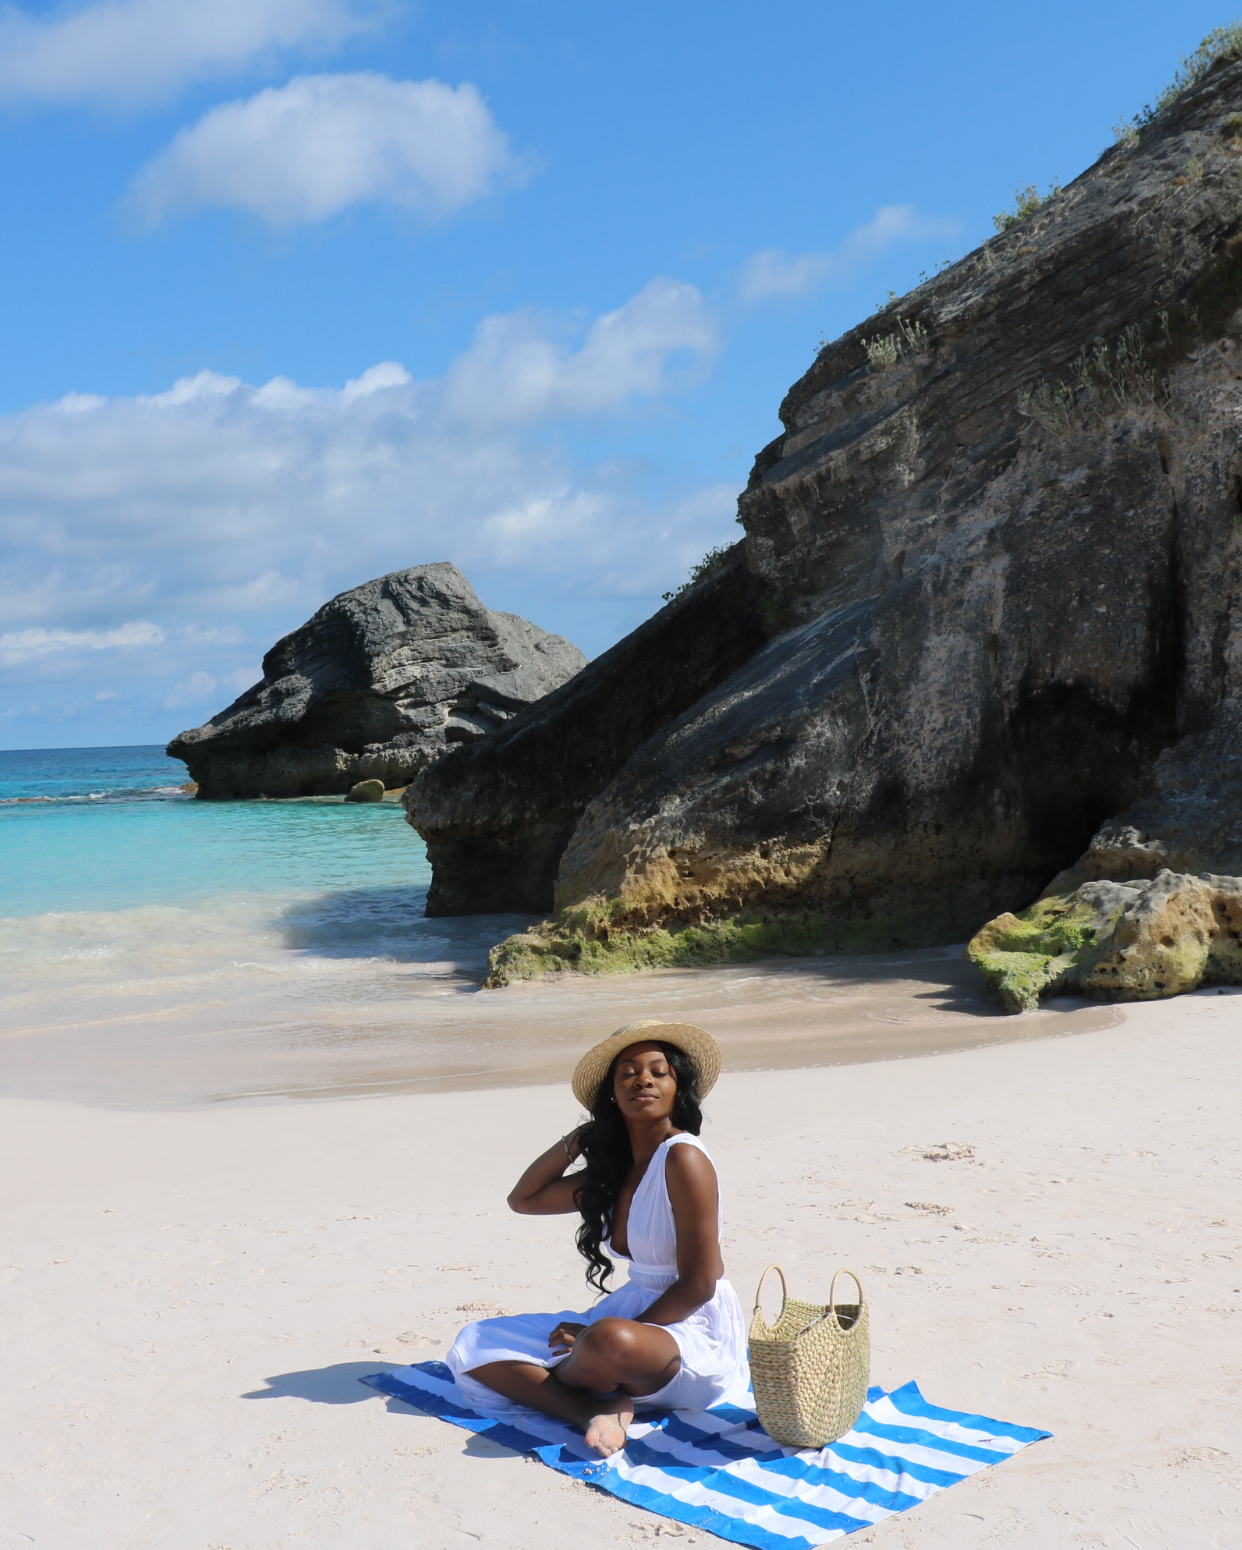
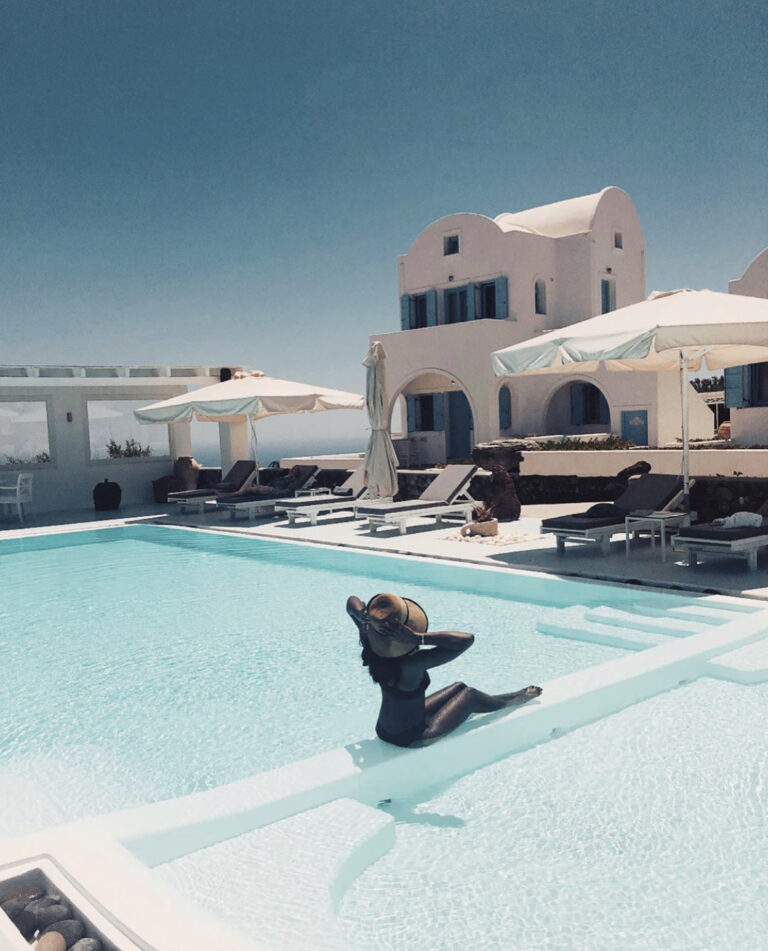
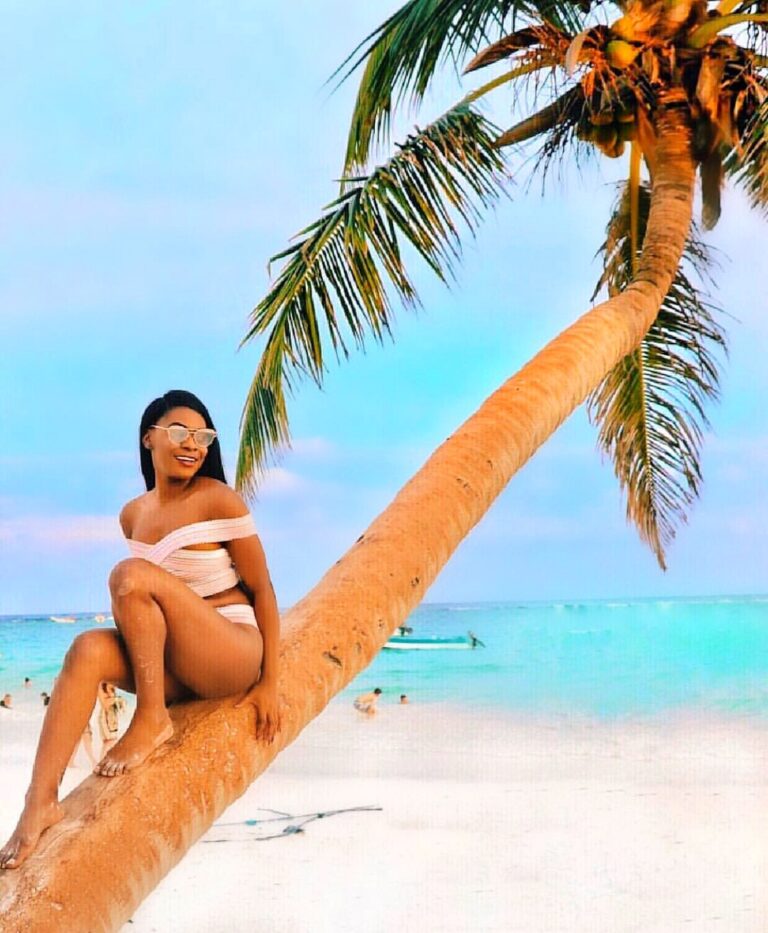
I always try to shoot (or edit through cropping) my photos in portrait mode as I think they generally look better, and take up more space – literally. There’s a place for landscape photos and I can appreciate those every now and again. However, portrait photos when done right can be game changers.
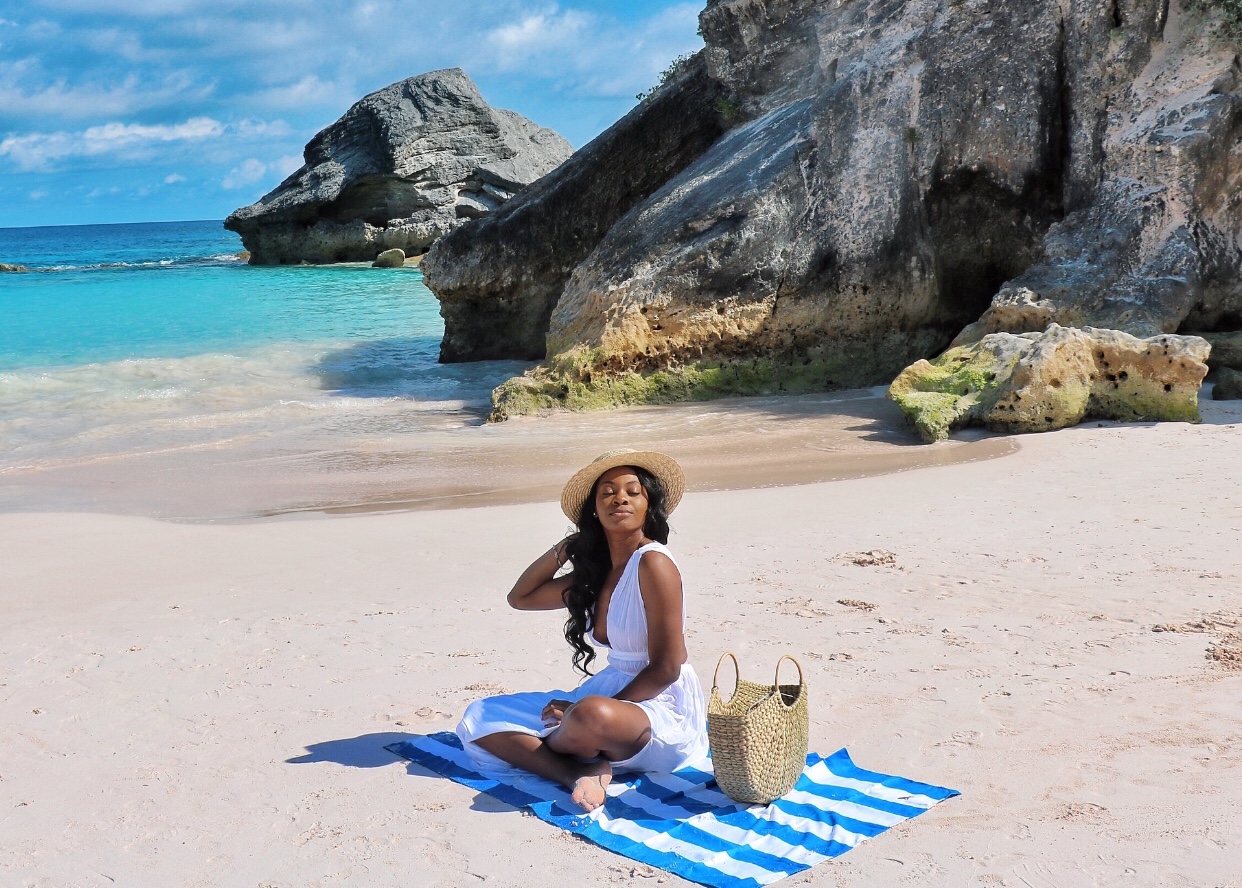
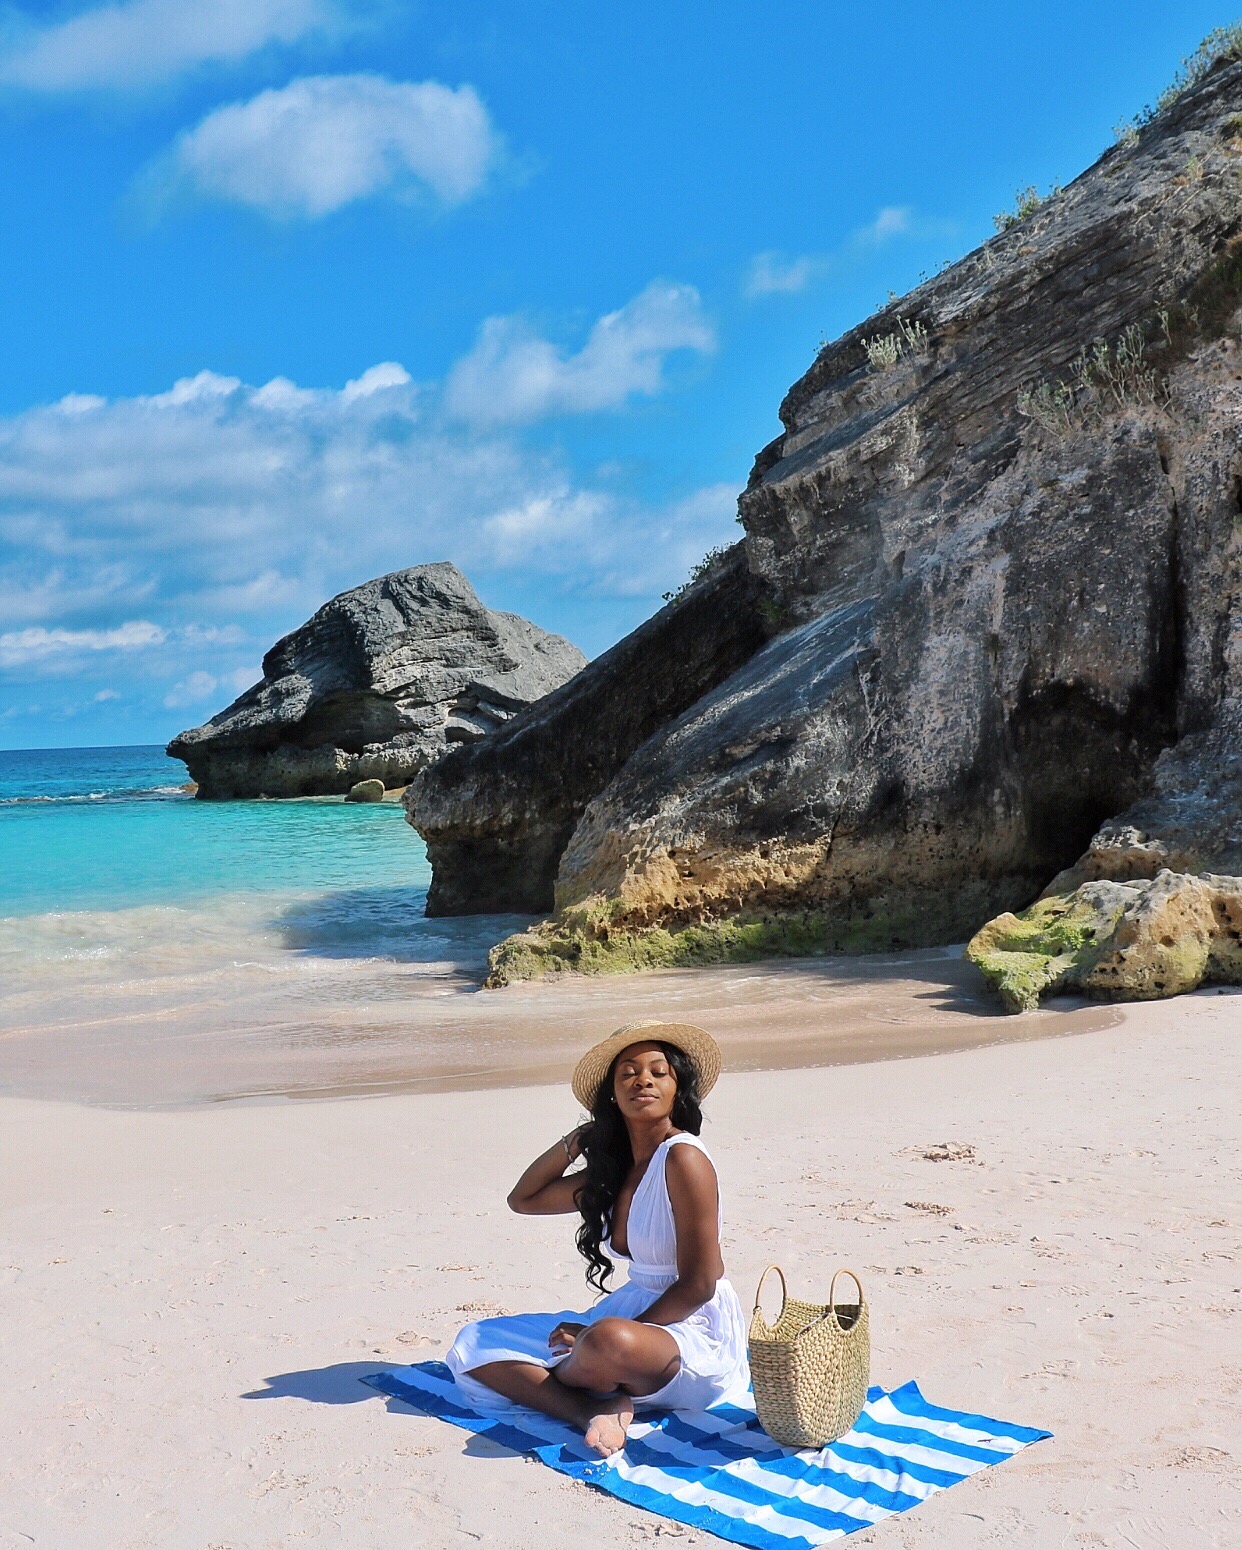
Landscape or portrait, which do you prefer?
For my edits, I use the Snapseed App, VSCO, and FaceTune. I am looking to start using Lightroom in the near future.
In conclusion
Photos are a really nice compliment to travel experiences . Don’t be afraid to experiment with your shots, mix and match edits, until you find what works for you. An additional tip is being in the photos, as it helps others imagine themselves right where you are. After all is said and done, don’t forget to have fun with it.
Taking pictures is savoring life intensely, every hundredth of a second – Marc Ribout
How do you take better travel photos, or photos in general? Did you find any of my tips helpful? What would you add? Let me know in the comments below.
For travel tips, click here. To read some of my other travel experiences, click here.
Until next time,

I can definitely attest to the awesomeness that is VSCO and Snapseed. I rarely use Lightroom because I’m old school and still edit my photos in Photoshop. I am looking to learn more about Lightroom though.
I also typically rely on natural lighting for the my photos. I mean, it gets no better than natural light. And as far as portrait vs. landscape, I’m still pretty fond of landscape although I recently started shooting in portrait and it’s definitely growing on me.
This was an awesome post with amazing tips. Can’t wait to hear (and see) more about your trip to Bermuda.
Recently started using Snapseed (Thanks to you) and i wonder what i have been doing all my life. Still a baby with editing but so many great tips, you guys better get ready.
Can”t wait to read about your trip to Bermuda! Love ya!